Introduction
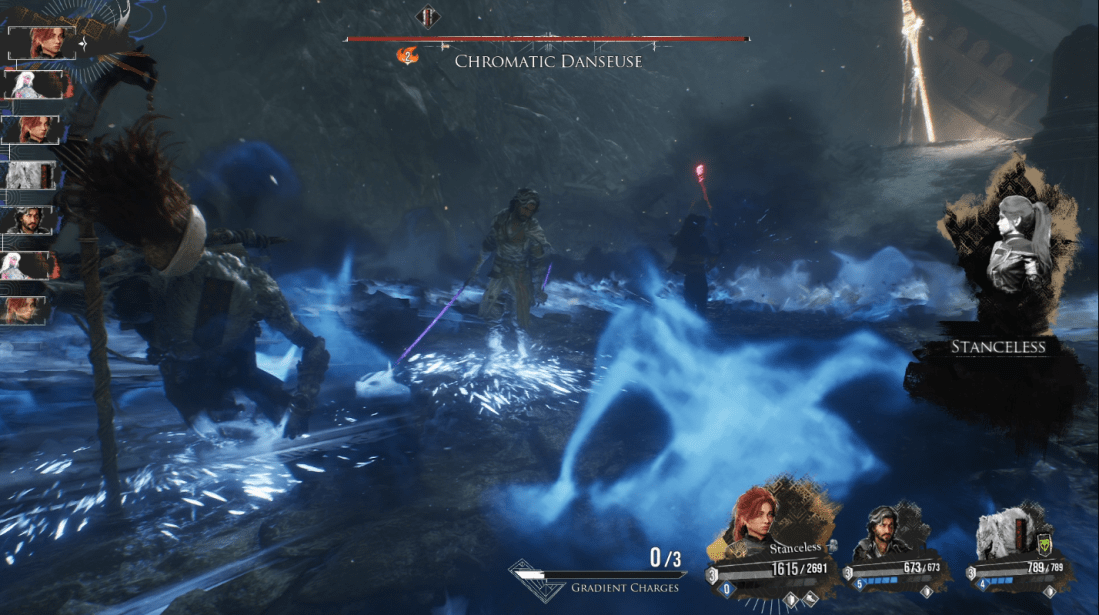
Finally you are at the endgame and have reached the point where the major battles start. This is one of the most complicated battles of the game especially after facing Battle Bound Lunagaron. The thing to note here is that this is not the end of the game. That being said let’s focus on how to defeat this Stage first.
Battle Strategy
1] Important Note
BrightFlash Expurgation is cast on turn 1 by Aenshin so make sure to use Dragonguard powder if your team keeps getting wiped
This as well as Blightgale Expurgation (a lesser fullscale attack) affect the entire team so if you aren’t riding the monstie or don’t have the proper gear equipped you are sure to get knocked down.
2] Offense and defense
Always attack as long as Aenshin is attempting a 1v1 (indicated by blue or yellow marker) or direct attack (marked by a red streak on the ground)
Aenshin will always keep doing normal attacks that are single target so make sure to take advantage of these turns and keep the offensive at it’s peak.
The moment Aenshin is not targeting anyone the next tur will be a screen wipe attack.
3] Fight States and Attacks
Aenshin’s power states can be identified by looking at it’s eyes. It starts in the Tech state (Green) this is indicated by his shut, black eyes and then in its enraged state it changes to Power (Red)
Omni Chaser (use to conserve stamina) and Perfect Strike (keep this for stagger chance or if you are gonna get wiped as an all out)
Omni Chase and normal attack is our bread and butter for this fight. Use perfect strike when you want an assured stagger or if the Kinship gauge is about to fill up.
4] Wyvenfall Gauge and Healing
Don’t be afraid to go all out when there are last 4 diamonds remaining on Aenshin’s Wyvernfall Gauge, the stagger will stop it’s next attack.
Heal and refill hearts to 3 only once you notice Aeshin’s preparing for a teamwipe
5] Monstie and Kinship Tips
Never use double Kinship. Ride the monstie but use normal or skill attacks till you don’t see any single player attack lines from Aenshin, make sure to use only Single Kinship Skill to stop his wipe. We use single everytime to offset the attack from Thea so that even if the Wyvernfell gauge is not broken Thea is most likely to follow up with her own Kinship attack.
7] Point of Focus of attacks
Attacks should always prioritize the shell, breaking it triggers a stun of sorts. The important thing to keep in mind here is that it must not be attacked when it’s glowing as that results in an automatic counter.
Loadout
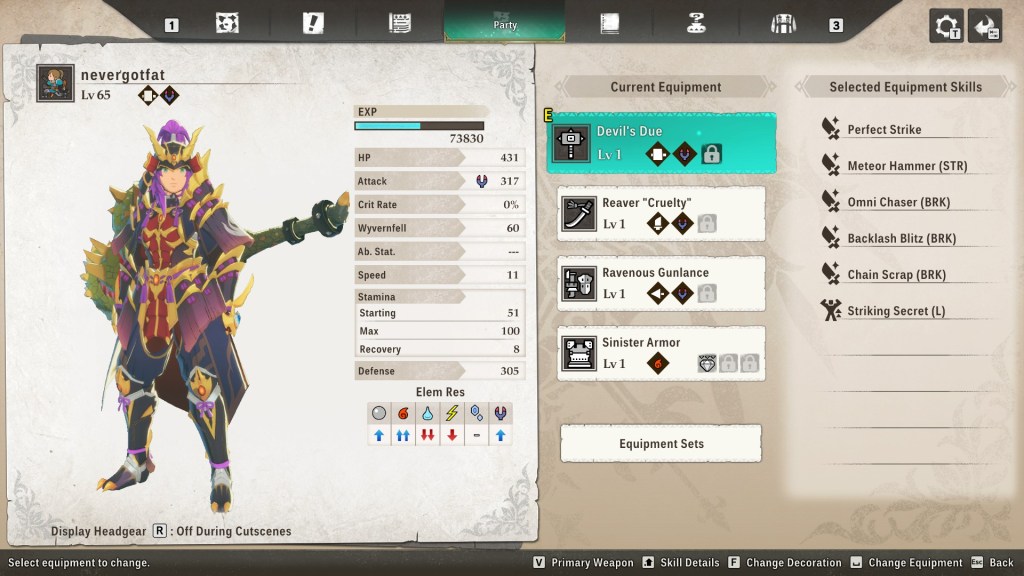
Armor: Sinister Armor (Magnamalo)
Gem: Dragon Def Boost (L)
Weapon: Devil’s Due (Deviljho)
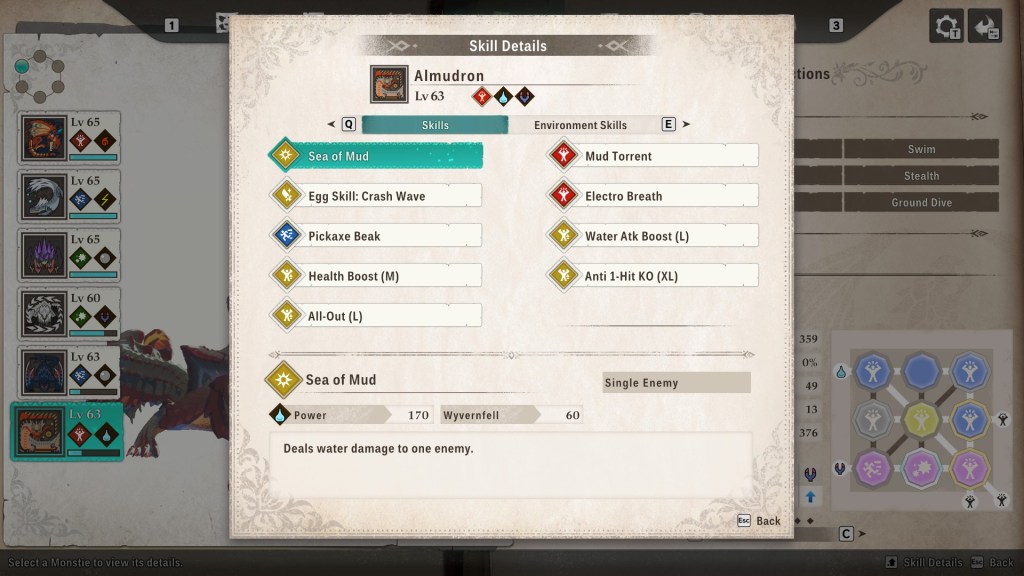
Monstie: Almudron
Active Skills: Pickaxe Beak (Speed), Egg Skill: Crash Wave, Mud Torrent
Passive Skills: Water Atk Boost, Health Boost, All Out, Anti 1-hit KO
Env Skills: Resonance+, Best Buds+, Tech Resillience+
Magnamalo Set L1 has Dragon Defense which when coupled with a Dragon Def Boost (L) gem can help you tank the biggest attacks from Aenshin when you HP bar is full.
Food Buff: Bubbling Magma Stew
This will increase Stamina and Wyvernfell damage power
Companion: Thea + Tobi Kadachi
This is the best combo since Thea does perfect counters and Tobi Kadachi is effective against Aenshin.
Summary
This is one of the most satisfying battles of the game as you have to plan every attack and heal, you cant just expend stamina liberally. Every single state of the attacking monster as well as your companions has to be taken into consideration, with a major focus on delpeting the enemy’s Wyernfell gauge inorder to incapacitate and disrupt it. The battle does allow a few mistakes especially since we can use Vitality Essences to stay in the battle but focusing too much on healing without attacking leads to an opening for Aenshin.