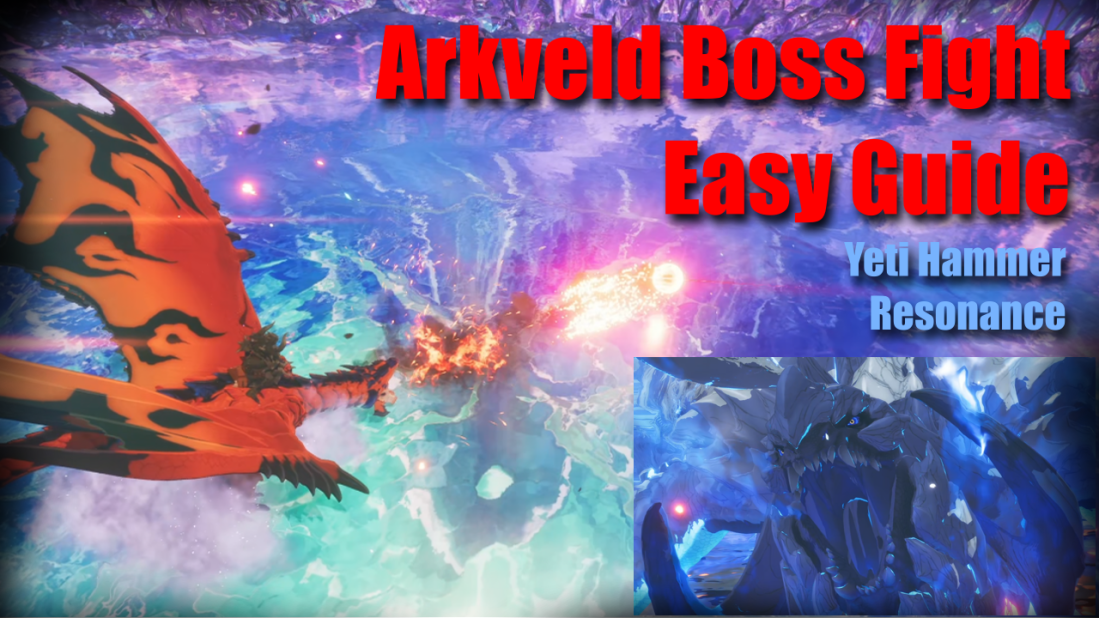
Arveld marks the end of the mid game with the battle being quite technical it takes a few tries unless you have prepared quite well. In the fourth biome at the end of the map we find Malzeno guarding the Sacrosanctum after which we have to face Arkveld. This fight can be difficult especially if you have reskilled Ratha and have missed the Mega Demondrug in the loot chest at the entrance.
Loadout
Player Armour:
Diablo Nero Armor (Black Diablos) Instigator Gem (Since 1v1 can be countered) Also to divert any attention away from Ratha Yeti Hammer I (Goss Harag)
Ratha: Savage Fireball (Remove any other lesser Active skills to conserve Stamina) Ratha will use Power Attack or Second Wind the lesser skills you have Environment Skills: Hardiness + Resonance (From Excursions)
Items: Mega Demondrug (Very Important) + Vitality Essence
Teammate: Gaul (Free Heals and Vitality + Debuff on enemy)
Note: A speed skill on Ratha will help you win most of the 1v1s which will be really helpful.
Phase 1
Basically with this setup we keep hitting the head to score big points on the Wyvernfall gauge. Destroying the head also reduces Arkveld’s attack power which is required since the fight progresses you might fall short of vitality essences.
Arkveld’s States Normal Form: Technical Stance (Counter with Power stance) Enraged Form: Power Stance Note: A speed skill on Ratha will help win 1v1 but since we have Gaul he will restore our vitality
Attack till turn 6 and use Mega Demon drug on Ratha (Without this Savage Fireball won’t trigger phase 2 and Arkveld will keep being aggressive. This is usually indicated by Odgen and the dialogue will inform you that Ratha should use the Savage Fireball skill.
Hammer is used to break the head first since won’t have enough firepower to break the wings unless we have farmed monsties in the Sacrosanctum biome
Breaking the Head reduces Arvelds’s firepower.
Phase 2
Hammer is very good here since it helps increase or decrease the Wyvenfall gauge very quickly. It even helps prevent Arkveld getting enraged since the hammer can overfill the gauge which shortens the gauge. Always keep the Vitality at two hearts for the Main Character.
Location of the Mega Demondrug
At the entrance door of the Sacrosanctum immediately towards the left is a treasure chest in which you will find the Meg Demondrug
Genshin Impact is a cross platform ARPG with online co-op features developed by miHoYo. It is an impressive and visually astounding game with various. The gameplay is butter smooth and the details on the characters are at an elite level. The game also adjusts it graphics quite well to streamline performance. It requires a consistent internet connection or you will face continuous disconnection issues.
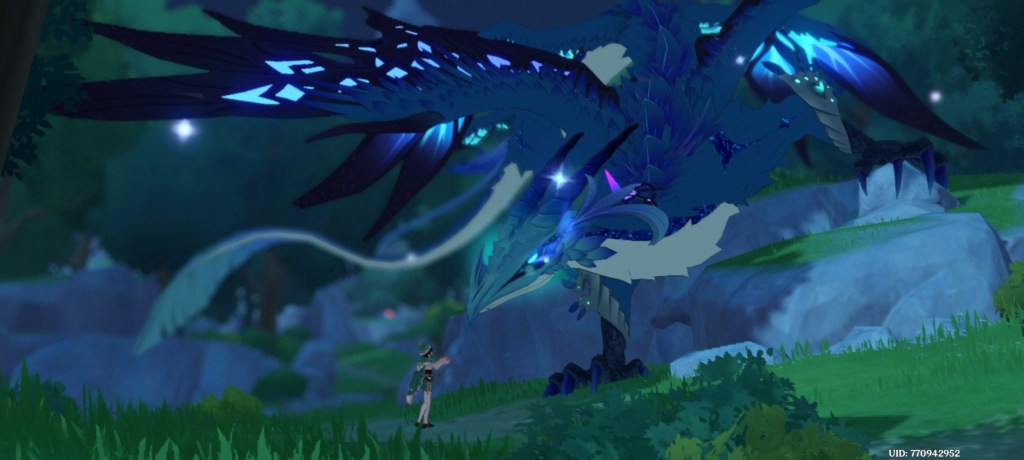
We start off with a cutscene with the the twins Lumine and Aether fighting against a heavenly being called the Sustainer of Heavenly Principles, here we are faced with a choice between the two characters for one to be captured by the divine being. We then wake up stranded on the shores of Tevyat where we encounter Paimon, a companion and a guide that accompanies us throughout the game. As we proceed towards civilization we notice a dragon and later on find a mysterious character trying to soothe it. As the dragon notices our presence it gets enraged and flies of causing the mysterious character to disappear as well.
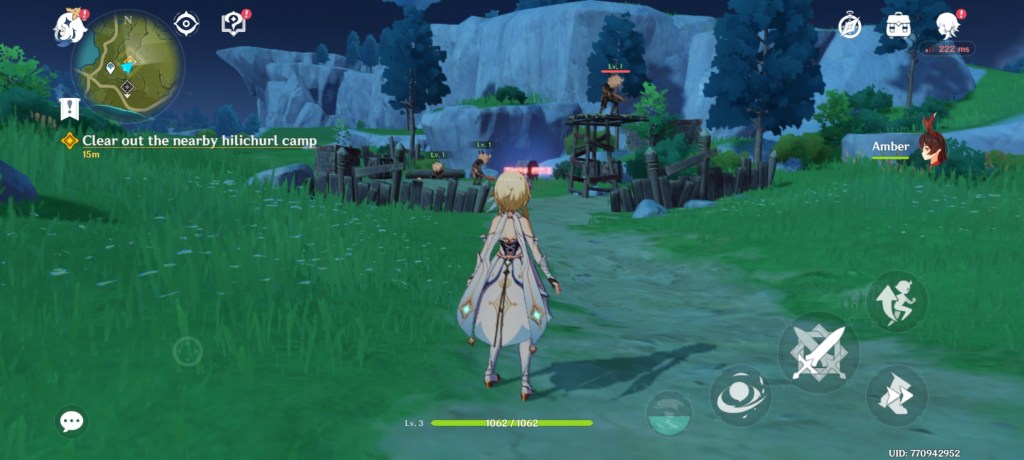
Next we encounter Amber, an Outrider of the Knights of Favonius. She leads us to Mondstadt, along the way dealing with a Hilichurl camp and informing us that the monsters have been posing a threat to the city by getting closer to it ever since Stormterror’s presence had increased.
After reaching Mondstadt, the city gets attacked by Stormterror causing our character to get caught up by one of its whirlwinds, forcing us into the skies, resulting in a battle with the dragon thanks to a mysterious force that let’s us do so.
As we almost near the end of defeating the dragon it flees away and upon landing back in the city we are greeted by the Cavalry Captain of the Knights of Favonius, Kaeya. A short conversation leads to the character being invited to the office of the Acting Grand Master of the Knights, Jean and the librarian Lisa, where we are then tasked to explore and destroy three Stormterror’s crystals located at three different temples. Here the mechanics of the game are explained where in how different elements can trigger certain things and how to take advantage of the characters.
Finally after dealing with the crystals we are done with the first quest. This also unlocks the Adventurer’s Guild which has various tasks upon completion reward the character with various items that will help with the overall game’s progression of characters and items. Fragile Resin, Artifacts, Mora, Ascension materials and Experience boosting items are the main drops. Resin being an essential item to unlock rewards and complete events later on.
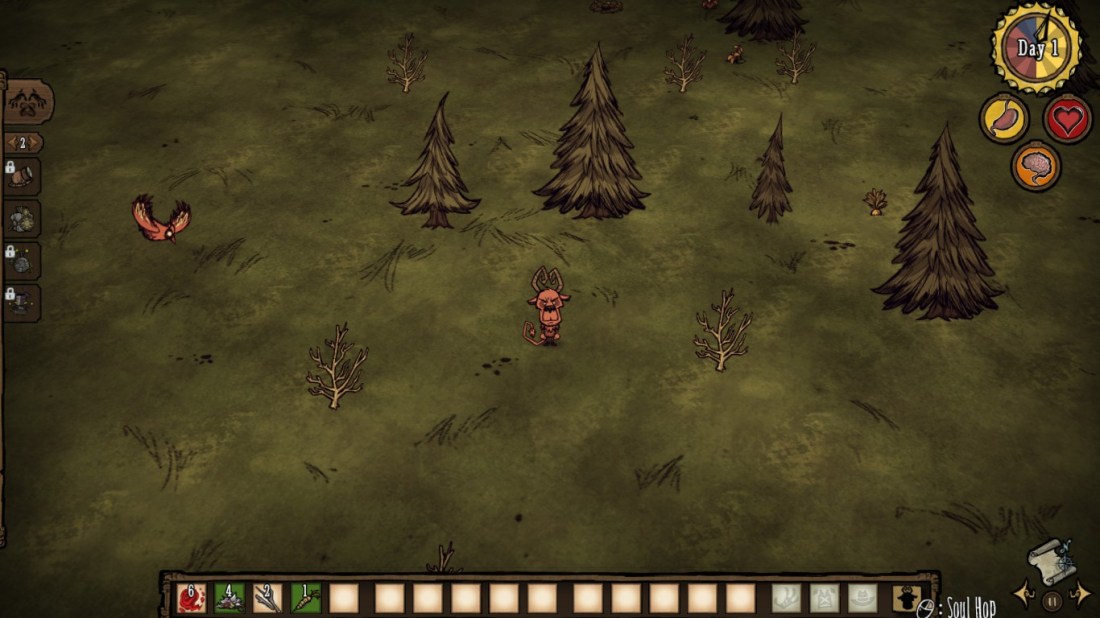
Krampus’ partner in mischief and once an unperturbed Imp, joins the constant as a reformed soul. Wortox was introduced as a character very recently and can be unlocked via the Weave mechanic. He can be crafted for 2700 spools, which can be gathered by unravelling(dismantling) wardrobe items or heads of previously crafted curios.
Character Details
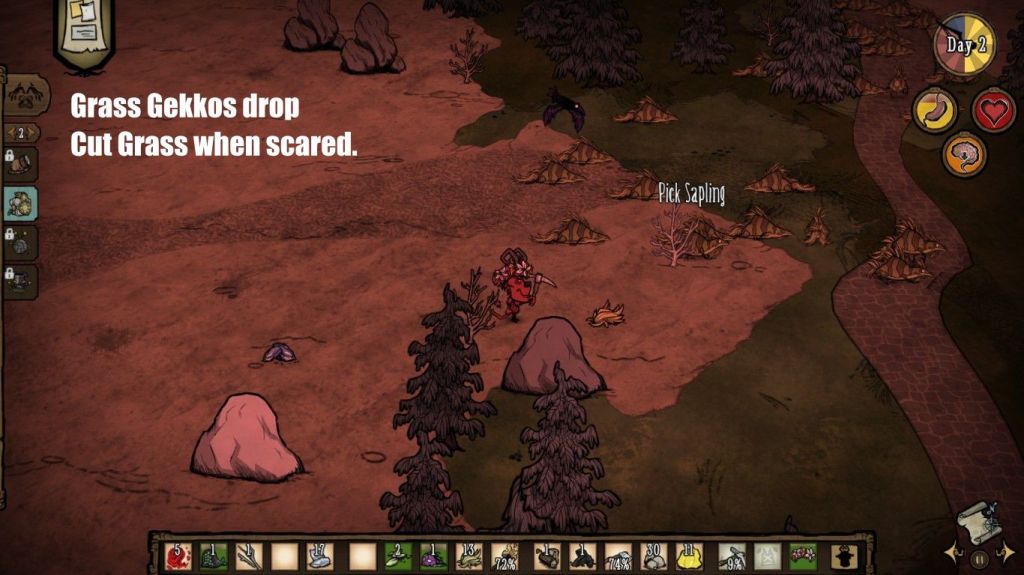
Wortox’s is able to collect souls from things that die around him. He can then use these souls for various purposes. He starts off with six souls in his inventory. Souls can be gathered easily by killing butterflies, moleworms and spiders. Wortox has a very big disadvantage when trying to recover from hunger by eating food. He recovers only by 50% of the usual but can be overcome by eating souls and managing sanity. Garland is a key items early on which costs just 12 flowers to craft. Later on once you find better weapons you can live off your souls by killing off the shadows. Once you have a few souls pick flowers or cook and eat green caps once your souls are at the maximum. Picking up an extra soul once the maximum has been reached, that is 20 souls, Wortox will drop half of his stash and lose sanity. Now lets get on to the benefits of the character, his abilities are as follows:
Eat Souls to recover Hunger
Release souls to heal Wortox and nearby players
Teleport short distances, even across untraversable land
Teleport to anywhere on map
Eat Souls to recover Hunger
Consuming a soul restores hunger at the cost of sanity for Wortox.
Release souls to heal Wortox and nearby players
After consuming a soul it can be released to heal nearby players for a certain amount of health depending on the number of players within the predefined range of healing.
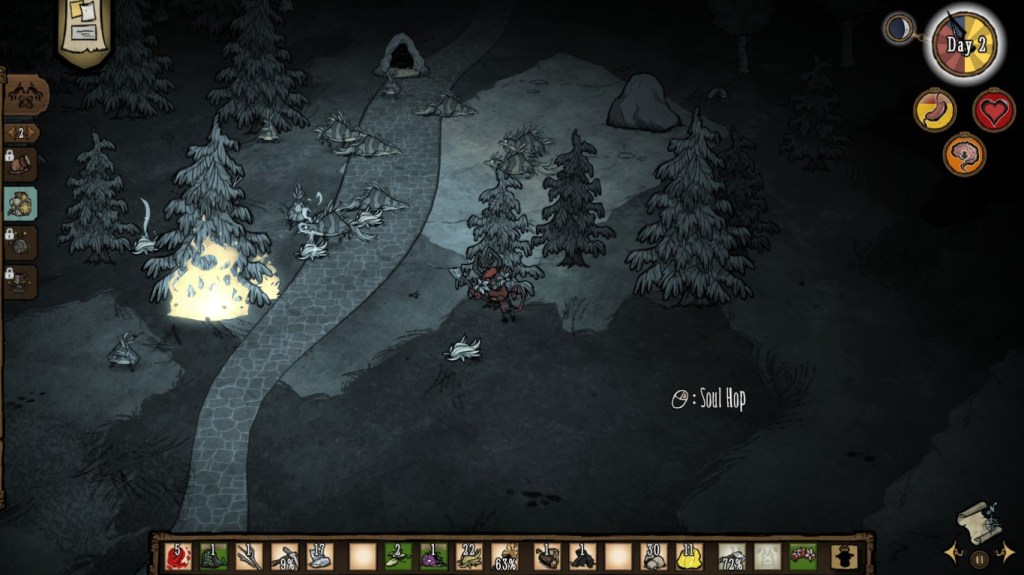
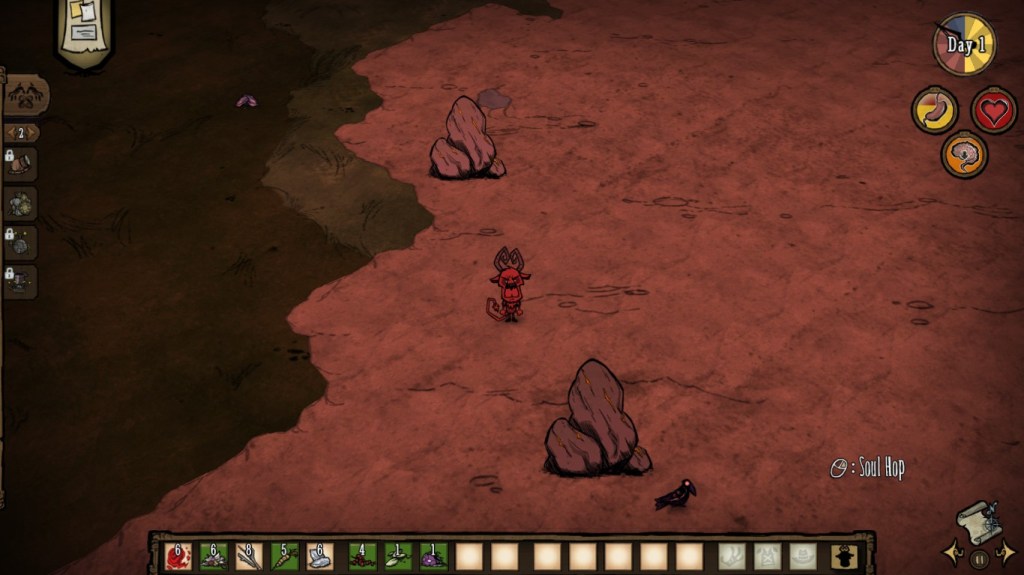
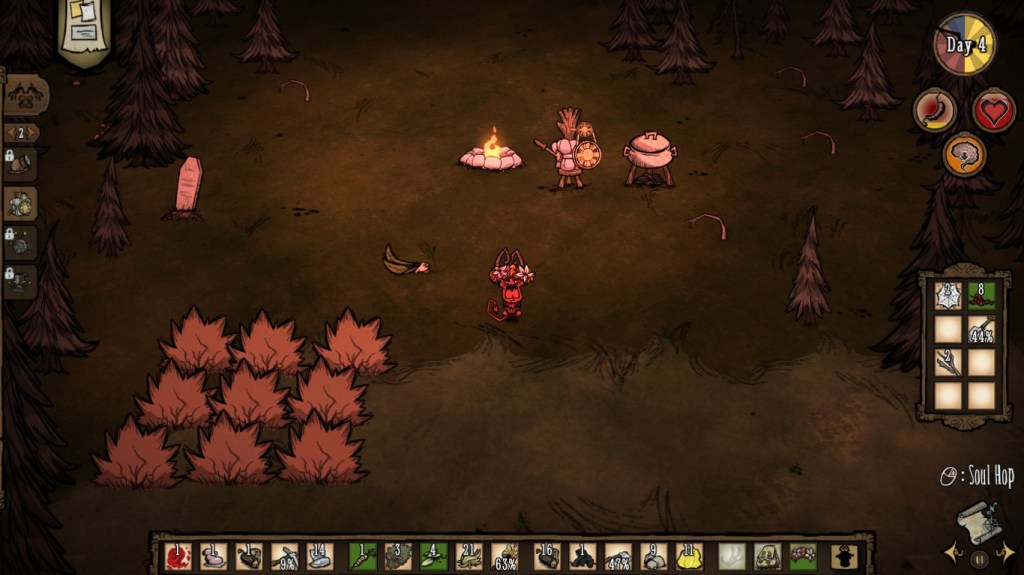
Teleport short distances, even across untraversable land
Can jump across water and short distances on the currently displayed screen. The cursor first displays “Soul Hop”, teleporting a short distance will consume a soul and then the cursor will display “Soul Echo” for a short duration, which when used will teleport Wortox to the spot but won’t consume any soul.
Teleport to anywhere on map
After opening the map, hovering over it will show how many souls will be consumed and no souls will be shown if a sufficient amount is not present. To teleport, right click on the opened map and press the map key to close it this will the teleport Wortox to the spot you had right clicked on.
Conclusion
Souls can be used to recover from hunger at the cost of sanity but once you get efficient with killing the shadow creatures you will be able to gain the max amount of souls and then recover sanity by picking flowers, crafting garland and consuming cooked greencaps.
Focus on helping your team in gathering distant items. Wortox’s ability to jump across untraversable terrain and teleport to undiscovered regions on the map makes him a good character to scout the map and gather crucial resources while the team focuses on crafting and building. Make sure that you have a sufficient amount of souls before teleporting a huge distance or atleast make sure that you are equipped with a proper weapon that will help you dispatch enemies quickly to gain souls.
Wortox can support the team further by healing players in an area of effect and as the players kill enemies around him it will only further ease the burden of farming souls. Very helpful during enemies like hounds that attack in groups or some bosses that spawn mobs of lesser foes around the players.
Overall Wortox may not be a beginner friendly character as managing souls and his hunger requires a little bit of skill to dispatch enemies at the same time it requires you to carry on with the normal gameplay so beginners might get stuck in an infinite loop of recovering sanity then hunger.
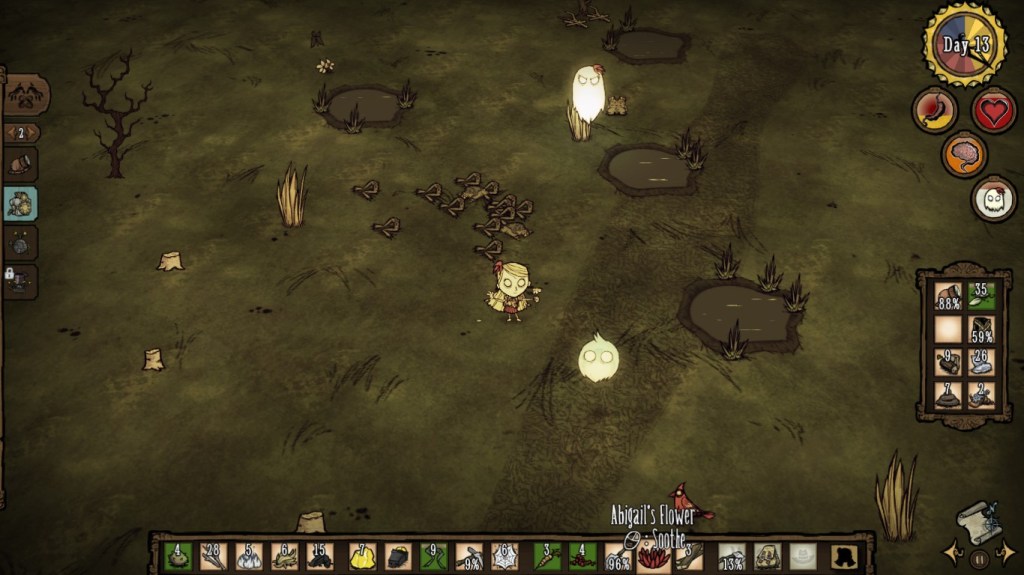
Into the constant spawns Wendy and her twin sister!!!
Wendy is the most easiest and fun character to play with, there is a small challenge at the beginning requiring the player to kill a creature to make he summonable. Easiest mob to kill is the butterfly as it sits on a flower. The second easiest mob to kill is the Moleworm place a flint on the ground wait for it to pop out, then kill it. The spider is a little bit difficult as its first attack needs to be dodged after which you can put it down easily with a few hits from an axe or a pickaxe. Pressing Shift+F is an easy way to force an attack on a nearby creature rather than clicking on it with the mouse. Abigail’s mode can be toggled between aggressive and passive by right clicking on the flower. The color and shape of the flower changes to red and sightly bloomed when she is summonable. Abigail has lesser HP on the day she spawns and it doubles the following day. She deals more damage at night.
Wendy on the other hand is dark and depressed and relates things to death. Apart from that there aren’t too many down sides. She is a very good support character especially when it comes to dealing with hordes and procuring huge amounts of meat with ease.
Abigail’s Pros
Abigail can take on a horde of frogs and spiders as she has an AOE attack thus making her an ideal character to gather meat
Can easily dispatch the waves of hounds with ease
Light source at night
Can be further buffed with the Sisturn and items crafted using Mourning Glory related recipes
Cons
Abigail doesn’t do well against higher level mobs
Wendy’s attack speed is slow
Need to micro manage Abigail during boss fights, dispelling her before she dies
Pipspook
Pipspooks are non aggressive mobs that spawn at graveyards with gravestones. Wendy can assist them by right clicking on them which will make them follow you. If you stand still it will move in the direction you are supposed to go, once you are near the location Wendy will inform the player as well as a radiating halo will appear over the Pipspook. As Wendy nears the invisible item it will come into focus as long as the Pipsook is near you. The frequency of the halo increases depending on Wendy’s proximity to the item, although it might not show at first if the Pipspook is too far. Each item drops a single Mourning Glory and the final item drops four.
Character Crafting
Abigail’s Flower – Craft Abigail’s Flower
Revenant Restorative – Triples Abigail’s health regeneration for a day
Spectral Cure-All – Healing regeneration rate increases by 20 per second for 30 seconds
Unyielding Draught – Increases the duration for which Abigail is immune to damage
Distilled Vengeance – Increases the damage immunity time for Abigail and returns damage
Nightshade Nostrum – Allows Abigail to deal the same amount of damage she deals at night
Vigor Mortis – Increases Abigail’s movement speed
Sisturn – Place four petals in it to buff Abigail
Tips
Let Abigail take the mob aggro after which you can follow up with attacks with Wendy.
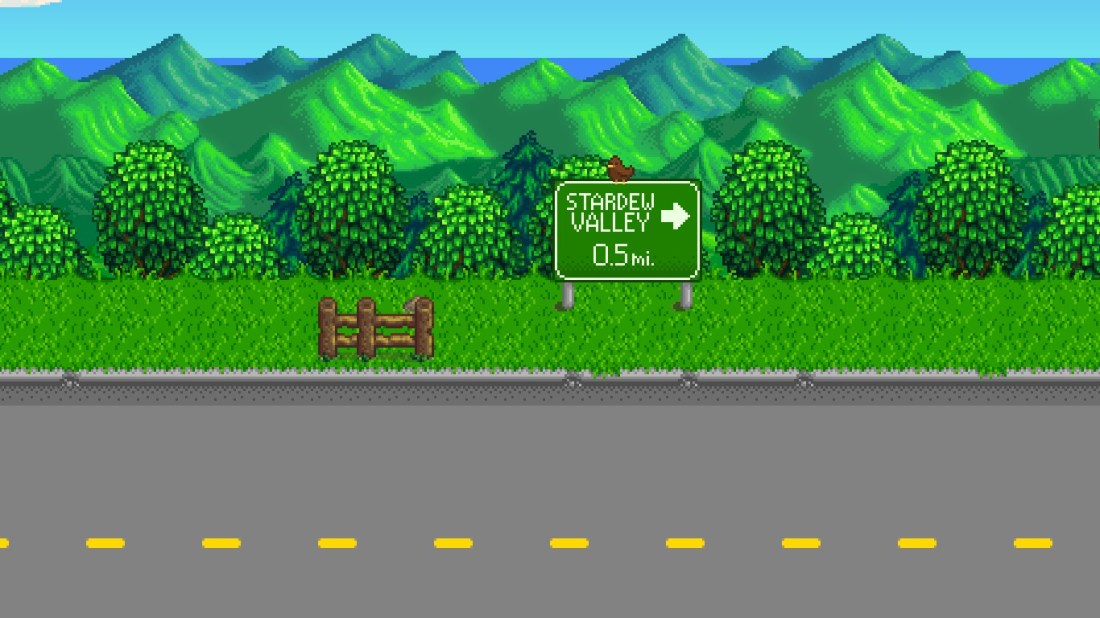
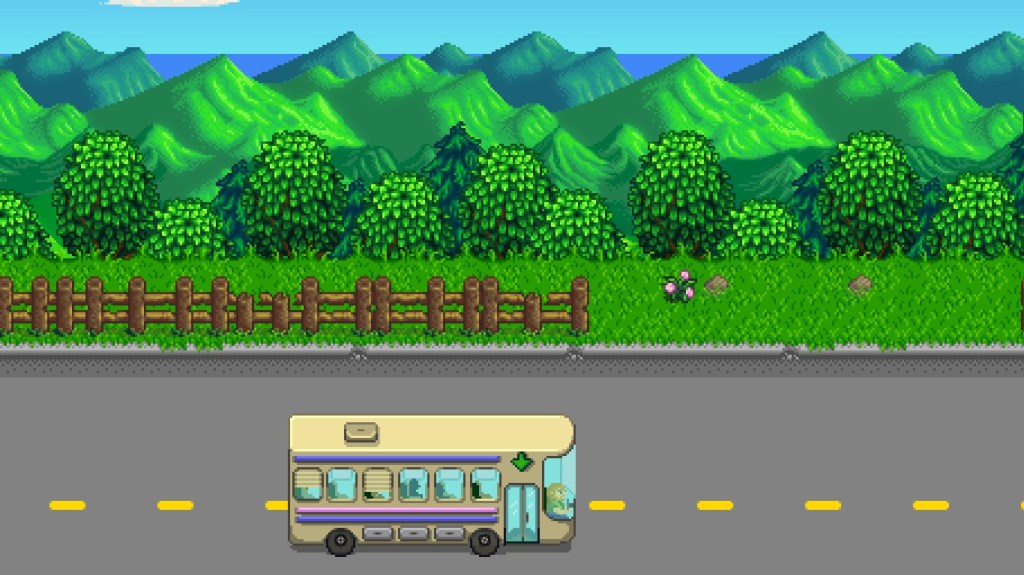
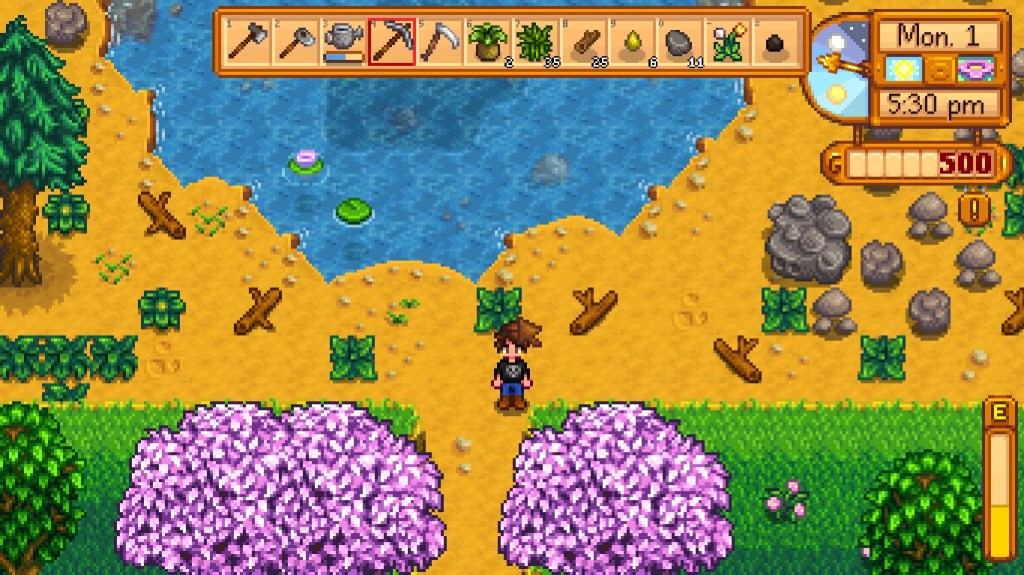
New to Stardew Valley? Returning back to check out the new update? Well don’t worry, here is a list of things that can help you with starting out on your first day at the farm. These are the little things that we tend to forget when returning to Stardew valley for a fresh start that may cause you to restart all over again.
The Mood Killer: Energy Bar
One of the most crucial aspects of the game and the one that is mostly overlooked till you are finally exhausted. Always keep an eye out for the energy bar, each little action that you perform will drain your energy. Don’t try to clear the farm on the first day itself instead do the following instead:
Step 1:Parsnip Seed Parcel
Enter the house and you will find a parcel of parsnip seeds, collect them and keep them in your inventory for now.
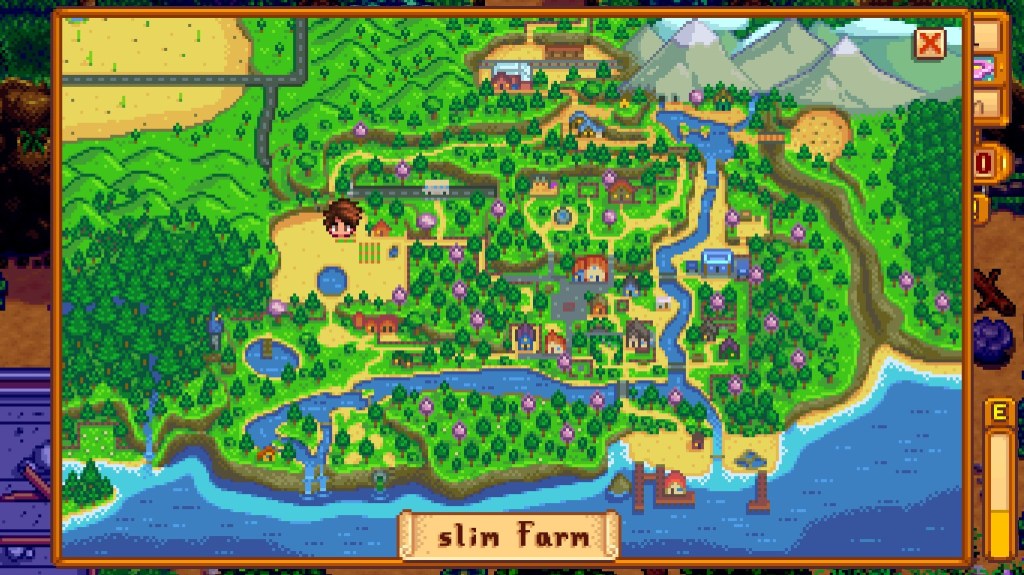
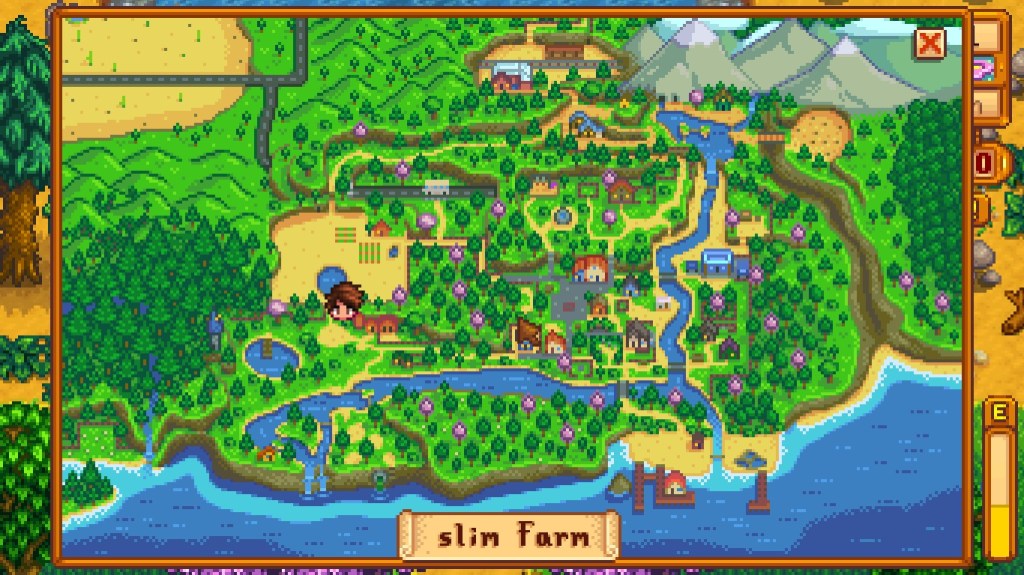
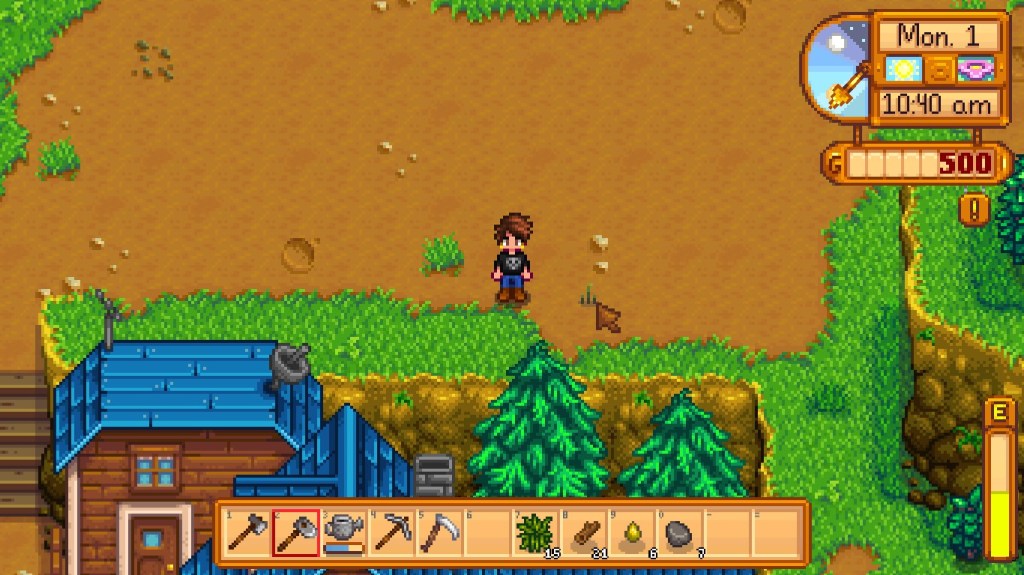
Step 2:North Exit
Clear a path towards the North Exit from which you can leave your farm. Make sure to clear on the small rocks and fallen branches so that you do not waste your energy.
Step 3:South Exit
Clear a path towards the South Exit from which you can leave your farm.
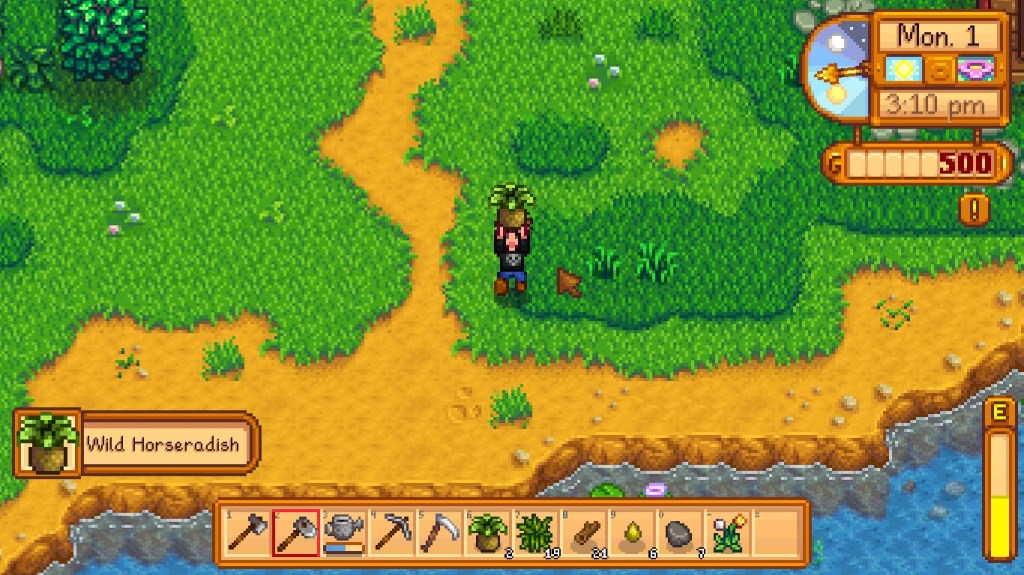
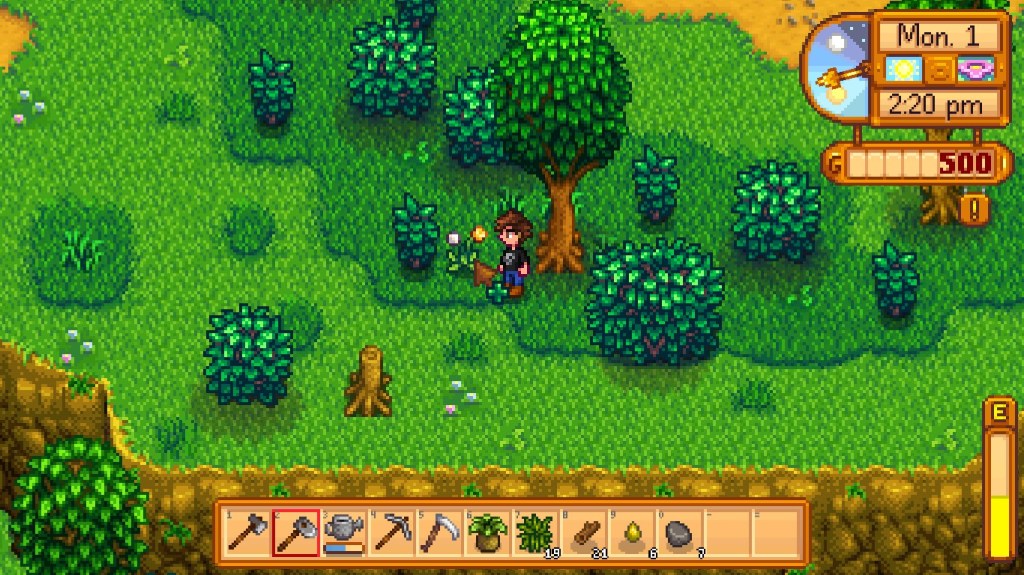
Step 4: Foraging
Now that the exits are cleared start venturing out to forage for collectibles like Dandelions, Horseradish and Clams.
Step 5:Wiggly Worms
If you notice Wiggling worms or Tendrils sticking out of the ground make sure to use a hoe to dig up some cool loot.
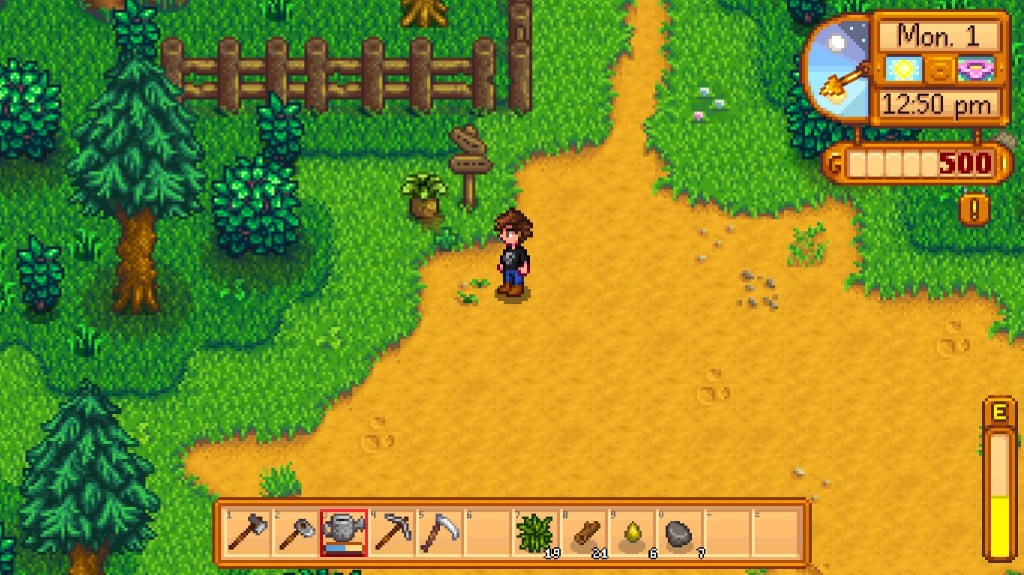
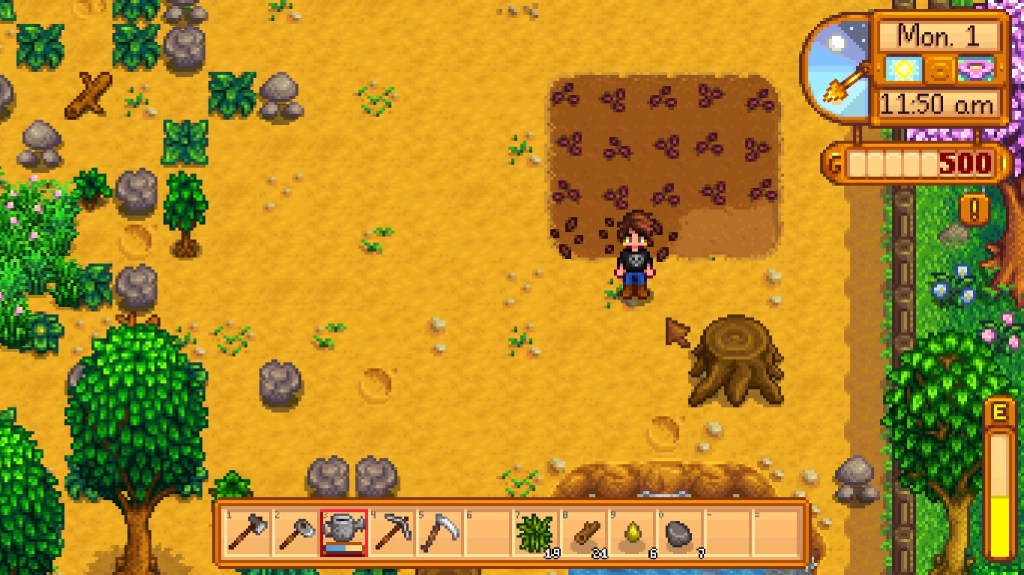
Step 6: Farming
Clear the area that is in front of your house to make a small farm, apart from the parsnips you might be able to find other seeds as well from digging the Wiggling Worms. Plant the seeds and make sure to water them.
Step 7: Storage Chest
Start cutting wood till you get 50 pieces to make your first storage chest, in order to store away the Scythe, Watering Can, Axe and other stuff that you may have picked up. This needs to be done since your backpack has only 12 slots in the beginning, which can be upgraded at the store later on once you have enough cash. If you run out of energy just go to sleep and continue the next day.
Step 8: Delivery
Just before making your way to bed, make sure to sell off your foraged items for some cash.
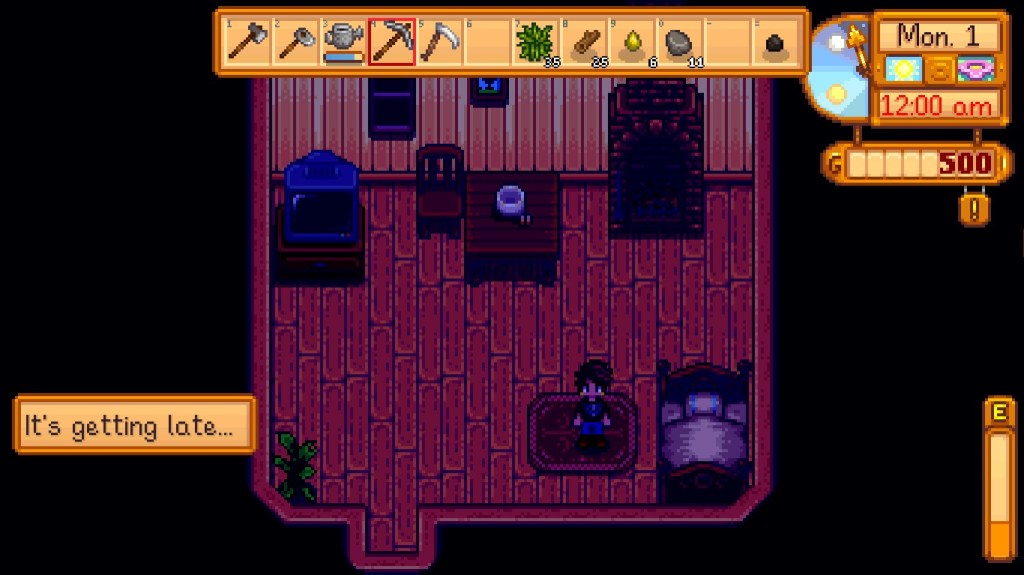
The Ultimate Run Killer: Time Exhaustion
At 12:00 am in the night you will receive a notification saying that it’s getting late, from this point onwards you have 2 in game hours and in real time that is 86 seconds. You will have to rush to your bed immediately before 2:00 am. If you collapse on the road you will end up losing items and the energy bar will be at the level it was the previous day. If you collapse in your house you won’t lose items but your energy won’t recover. The next day you will have to consume Field snacks at the least to restore your energy or you will have to sleep it off.
Tips
Don’t go to the beach on the first day instead forage the northern and eastern sides and the place at the Southern Exit from your farm. As you will have to go to the beach to collect the fishing rod the following day.
Make sure to keep the things you have in your backpack in your storage chest as it will hamper foraging.
Always carry the Hoe to dig up treasure and the pickaxe if you want to go to the mines
Collect seeds to make the field snack
Don’t waste your time trying to find all of the inhabitants of the village on the first day as you will meet most of them during the potluck ceremony and other events
Make sure to collect 300 wood to fix the bridge east of the beach
Fallout 76 has a fair share of quests some of which even need to be replayed in order to experience all the different scenarios. Other quests are dailies and events. Among all of them some are considered to be critically acclaimed by the community and we will be delving into the most interesting quest called the Mistress of Mystery. This quest is part of the Faction quests for the Order of Mysteries and is the last quest of the entire chain. The questline can be activated upon discovering the dead corpse of a young women on whom we find a damaged Holotape and a Worn Veil belonging to the Order of Mysteries. The corpse is part of randomly encountered events and can be found at various locations across Appalachia.
The Mission
After successfully completing Seeker of Mysteries the player is finally able to access the Headmistress’ office. It’s finally time for some clarity on this whole mess of events that occurred. Going back to a cryptos terminal you will finally get to access it as Olivia and authorize access to the Headmistress’ office. A hand scan terminal outside the office grants the player access to her cabin and upon accessing the terminal and reading the message sent by Olivia we finally find out that she came across members of the order gossiping about how they knew they were suspicious about her. She confesses to killing them and how she then wanted to get rid of the entire order, with a final message to her mother suggesting that meet at the usual spot they used to meet on the day of her birthday.
The Final Events:
At this point you will unlock the optional quest to search for clues regarding the meeting place, which can be found on Olivia’s terminal using her credentials. A new location marker appears on the map just north of your current location known as Seneca Rocks. Once you reach the place you will find the dead bodies of Olivia and her mother, the headmistress Shannon Rivers. Upon interacting with them you find the Holotape that has the recording of the final moments between the two of them. You can initially hear Shannon requesting disclosure and her daughter explaining how she was tired of the way they were operating. Olivia ends up killing her mother with the help of Brody, a raider who was assigned the task of doing away with the entire order. At the end he betrays Olivia finally putting an end to the entire Order of Mysteries.
Conclusion:
Now if we go back to the cryptos terminal we can finally login as Headmistress Shannon Rivers. You can access a few new things and promote yourself to the rank of Mistress of Mystery. The Holotape that you receive has an entry of Shannon delivering her final message, welcoming you as a full fledged member of the Order and briefly describing her reasons for the order. Apparently she had high hopes for Olivia and could not stand what her daughter had turned into at the end.
Don’t Starve is an absolutely marvelous indie game if you like dark and gloomy themes and just want to relax on a weekend, who knows it might even brighten your day. A perfect setup for a multiplayer game where you have to frequently adapt to whatever the game throws at you just like normal life. Co-ordination and allocation of tasks is a key aspect when playing with a group of friends to make things. This guide will help you get a perfect start as it emphasizes on materials and tools required to make it feel seamless and also a brief introduction to what can be considered an ideal spot to build your camp at.
Phase I – Basic Requirements:
Tools:
The first few crucial items required are Torch, Axe, Pickaxeand an optional item would be Garland which helps keep your sanity in check well unless you are playing as Wurt. So to craft the above items we will require the following materials:
3 Flint
5 Twig
12 flowers
2 Cut Grass
The above are the minimum requirements and you will need to find more as your tools break down. Flint can be found lying around in the Grasslands and Rockyland biomes, Twigs can be found in Grasslands. Cut Grass can be found in the Grasslands and Savanna biome.
Food:
In the beginning just keep picking up berries and carrots that you will find along the way. Keep consuming them to restore your hunger whenever it gets low. Along the way you might find seeds that birds will desperately try to eat, pick them up and store them for now. To kill a moleworm drop a flint on the floor as he pops out and tries to take it, you can kill it to get a morsel.
Camp Location:
An ideal spot would be at a location where there are lots of spiders, spiders preferred since they drop silk and spider glands apart from monster meat. The camp has to be placed a little bit further from these spots. In case you are playing as Wendy then a frog camp would be ideal.
Tips:
Save tree cutting for logs at night. Just before night time approaches make sure to be in a forest biome or a spot with a few trees, the moment its night light a tree (right click on a tree with torch equipped) on fire and start cutting trees with your axe that are further way.
Make sure to collect the charcoal from the burnt trees. If its burning (slight steam rising from it) just collect it once to put off the fire then collect it asap again.
Don’t pick extra stuff like flowers(more than what is required to make a garland), nitre, mushrooms, annoying mandrakes and dark flowers. Focus on getting to the Science Machine and setting up camp.
If you were unable to craft a torch make sure to run towards the entrance, the Florid Postern.
Phase II – Building the camp
Now on to the next part where we need to setup our camp. First and foremost we need to build a Science Machine to prototype the Backpack, Shovel, Crock Pot, build a Fire Pit and an Alchemy Engine.
22 Logs
28 Rocks
2 Twigs
9 Gold
6 Charcoal
2 Flint
For this we need to find the Rockylands area. In this area there will be two types of Rocks one is a plain looking one and the other will be the one which has golden veins across its surface. We need to break down the one with the golden veins as they drop gold, rocks, flint and nitre. Don’t pick up nitre for now.
Once you have all the necessary items mentioned in the list above proceed to the location with spiders, if you haven’t found one yet just build a temporary Science Machine and just craft the Backpack for now, then farm the extra gold, logs and rocks for the one to build at your base.
In case you already have a good spot for your base, build the science machine and craft the Backpack and equip it. Next craft the Fire Pit, then the Crockpot, Shovel and finally the Alchemy Engine. It is much easier to craft now in Don’t Starve together as you can find the item you need and click on it and if the materials that are part of the recipe themselves need to be crafted they will show a “+”. You can hover over them to find out what materials are required.
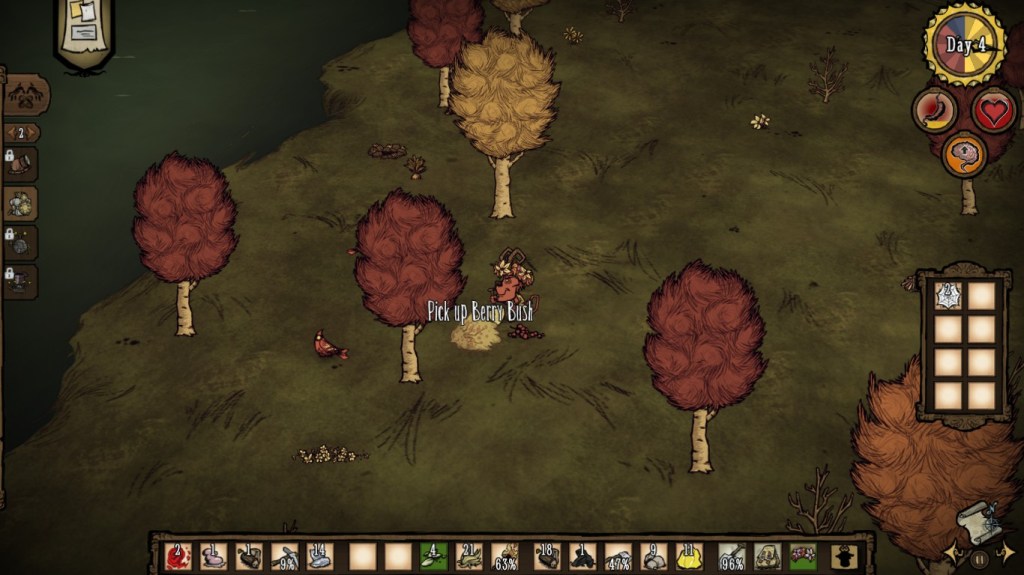
Next we have to gather the berry bushes to plant them at the base. Here we use the Shovel to dig up the berry bushes (if you don’t have inventory slots make note of the locations and come back once you have the backpack). Make sure you don’t forget to prototype it at the base near the science machine. Use rotten food to fertilize the bushes
Food:
The easiest crockpot recipe for hunger is the one for Meatballs (1 meat + 3 veggies) and to restore health it’s Trail Mix (1 roasted birch nut + 2 berries + 1 twig). Spider Glands are also a good source of healing and can be used to make Healing Salves.
Tips:
Build the base a little bit awayfrom the trees, water, frog ponds, spider nest, beefalo and pig houses.
Don’t venture into the swamp unless you are feeling brave or build a base in the swamp.
Conclusion:
Now that you are through with the initial phase, don’t waste time staying at the base for too long. Go out and explore. Plan ahead by checking for the next thing to do for which a few example would be crafting the Prestihatitator and the Shadow Manipulator. Also you can herd the Beefalo and adopt pets and don’t forget to find and fight the bosses. Apart from this you will have to prepare for Winter and Rains get proper equipment which will be discussed in further posts. Also don’t forget that there is an entire map of underground cave systems waiting for you to explore.