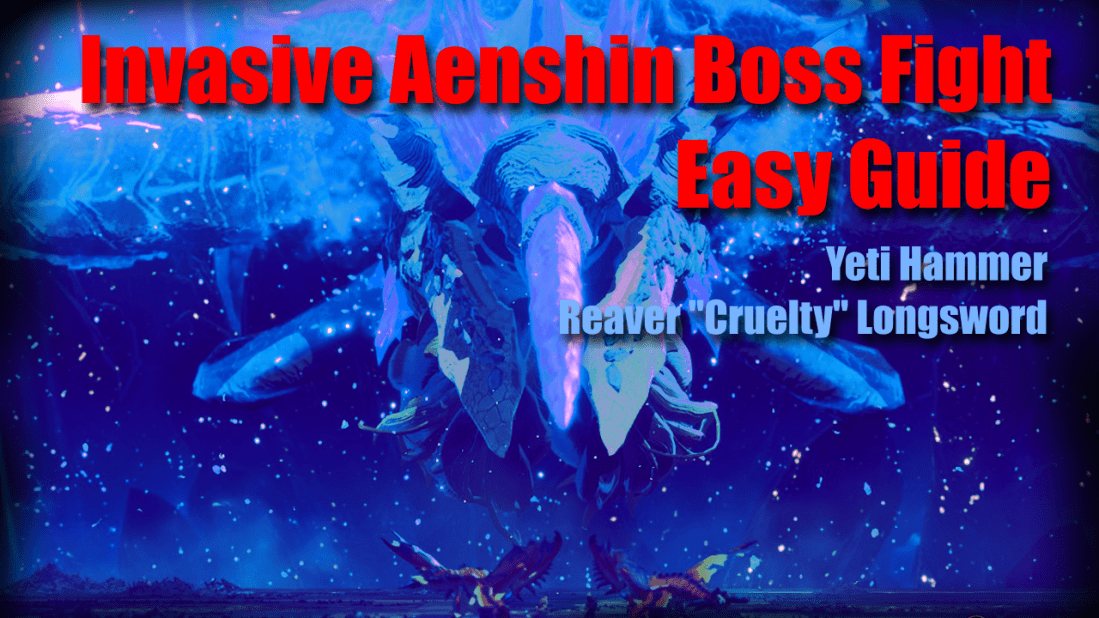
The game has reached it’s end and you have to face Aenshin’s Final form. You are forced to play with Simon as a companion for this fight so it can be a bit difficult if you are underlevelled and there is no shame is restarting to pre battle or an old save. Recommended level is 80 on Ratha and Zinogre Armor helps tank all the one shots and screen wipes. This is an easier battle as you can use Lunge strike stance to act as a support whilst dishing out massive damage numbers and keeping the kinship gauge progress always active. Make sure to create two individual saves before you start this since after this battle the game ends.
This guide does not even require you to get any items from the calamities, at this point for me all my calamity Elder Dragons are still active although I could defeat them easily. Also get ready for quite a long cutscene and don’t miss the cutscenes in between the credits.
Loadout
Food Type: Contingency Stew – Fills the Kinship gauge faster
Armor: Zinogre Armor (Dragon Def Boost XL + Elemental Assault L)
This setup will help you tank the screen wipes as well as single target attacks
Weapons: Yeti Hammer L3 + Reaver “Cruelty” Longsword L1
Since we are forced to party with Simon who has very weak support skills we have to first go on the offensive and break the Core, then switch to Longsword
Monstie: Ratha (Lv. 80) (Fire Cluster+ & Savage Fireball)
For single target attacks use Savage Fireball and save Fire Cluster+ for when the Srystals spawn
Raths Skills:
Active Skills: Savage Fireball, Flare Cluster+
Passive Skills: Fire Atk Boost (L), Self Heal (L)
Environment Skills: Resonance+, Best Buds, Unscathed
Items: Lifesoot, LifePowder, Mega Potion, Vital Essence & Mega ArmorSkin
These and other healing items are required and we will be using them when in Lunge stance
Battle Strategy
1] Start with Yeti Hammer on the part thats weak to it (Always break this first)
2] Keep using Savage Fireball and use Fire Cluster only when you see multiple
targets
3] Use Kinship skill only when both crystals spawn, use the AOE to break the
part weak to hammer as well as both crystals this way (@2:43)
4] After breaking the part weak towards hammer switch to long sword (@3:34)
5] Spirit Blade to gain 2-3 charges (Switch to Lunge when there is no single target
attack incoming)
6] !!!IMPORTANT!!! Once you are in Lunge stance it remains that way if you keep
using items instead of attacking this way the attacks keep happening as well your
team keeps getting buffed and healed
7] In this mode attack only when Aenshin is targetting you for 1v1
8] With this method all of Aenshin’s 1v1s are always TECH Type
As can be seen in the video above at first fully focus on doing max damage to the part weak to the hammer, always stay in Power Mode (Red) since with this method Aenshin will always be forced to attack only when its in Tech state (Green). As soon as the kinship gauge fills for both characters use it ASAP, this will destroy the core weak to the hammer.
Next switch to the Longsword keep using spirit blade and switch to Lunge stance once you get 2-3 stacks. Then the moment you get into lunge stance focus on healing the restoring vitality and finally getting the armorskin up. You do not exit Lunge stance when using items so you will be attacking any time a party member attacks which is exactly what we need. This helps us keep the DPS up and act as a Support at the same time.
Points to note:
Always stay on the offensive when Aenshin is single targetting your team. The moment you don’t see any attack lines is when you heal and makes sure you always have 2 hears of vitality to tank it.